
 Italiano
 Deutsch
 Español
 Português
 Français


13 / Dec, 2018
Comment 50821 Views How to install LUT presets into Adobe After Effects.
Category: Video
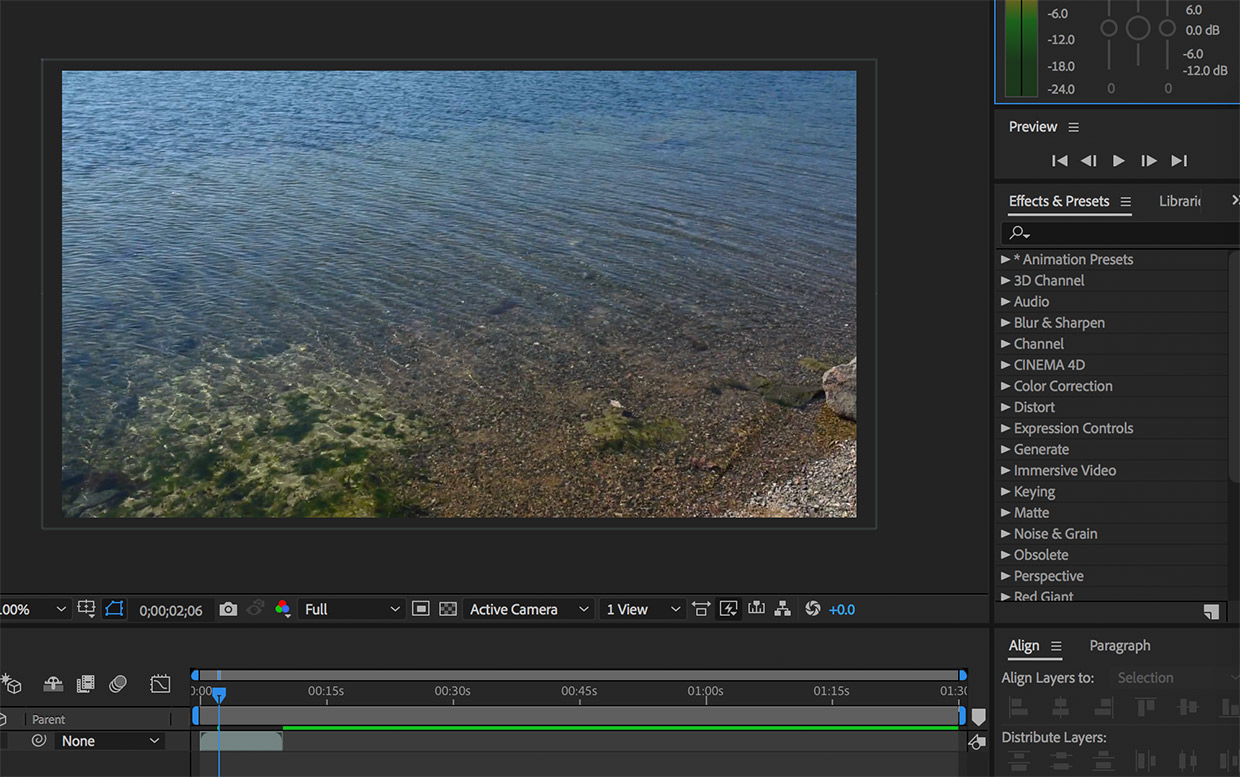
1. Import Your Footage
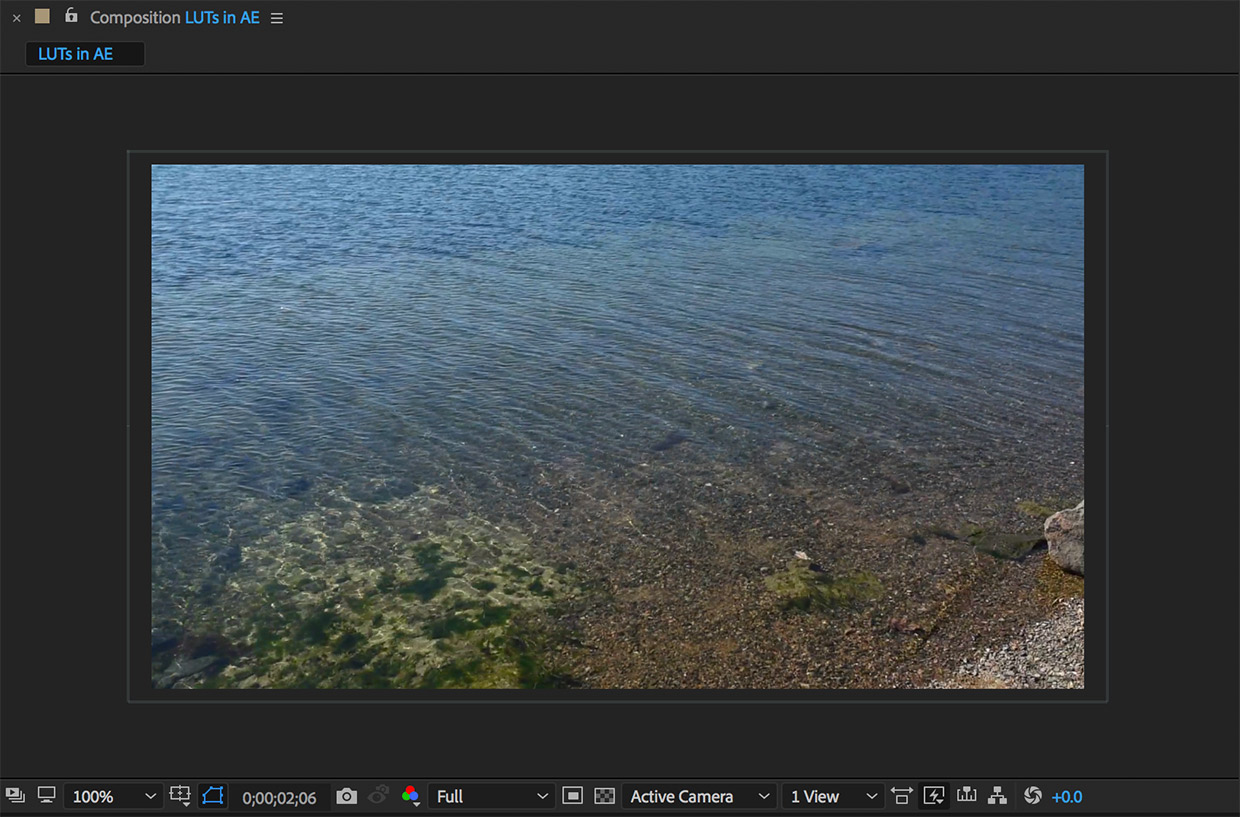
To import a lut in After Effects you’ll need some footage that you can apply it to. Start by importing your clips and organizing your composition.
2. Find the Effects & Presets Panel
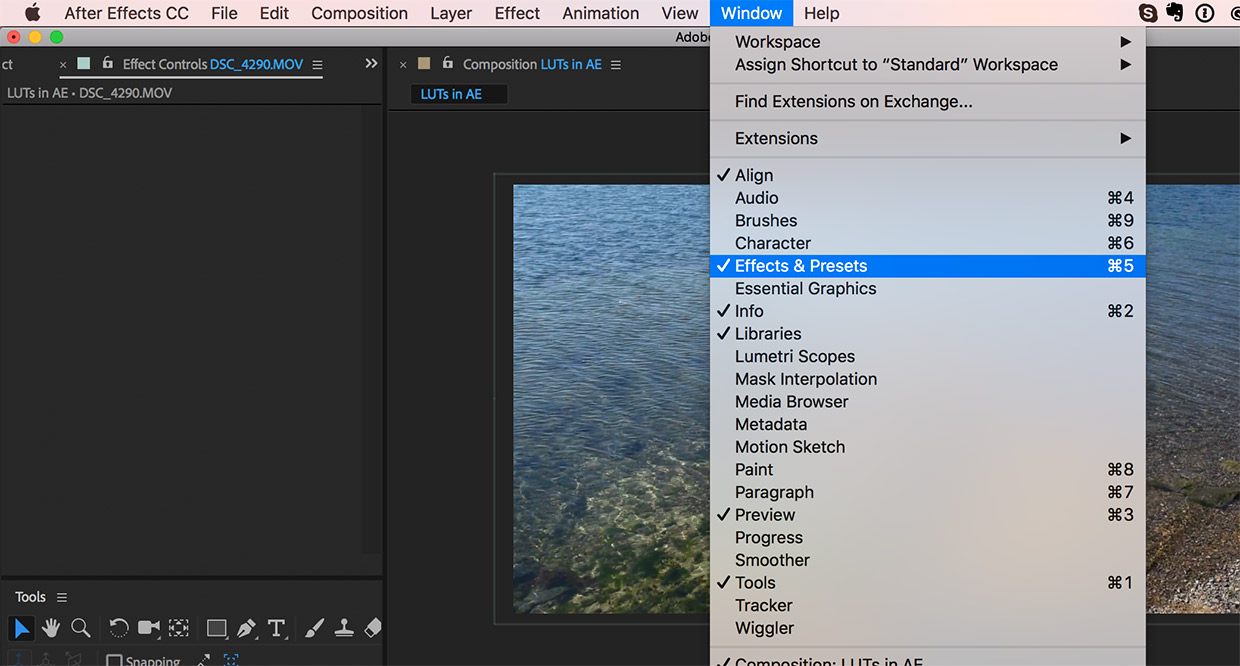
Once you have your clips in the composition, you’ll need to find the Effects & Presets Panel. If you don’t see it within your workspace you can find it by clicking Window > Effects & Presets.
The panel will then show up in your workspace allowing you to search for specific effects/presets that you can apply to your layers.
3. Search for the ‘Apply Color LUT’ Utility
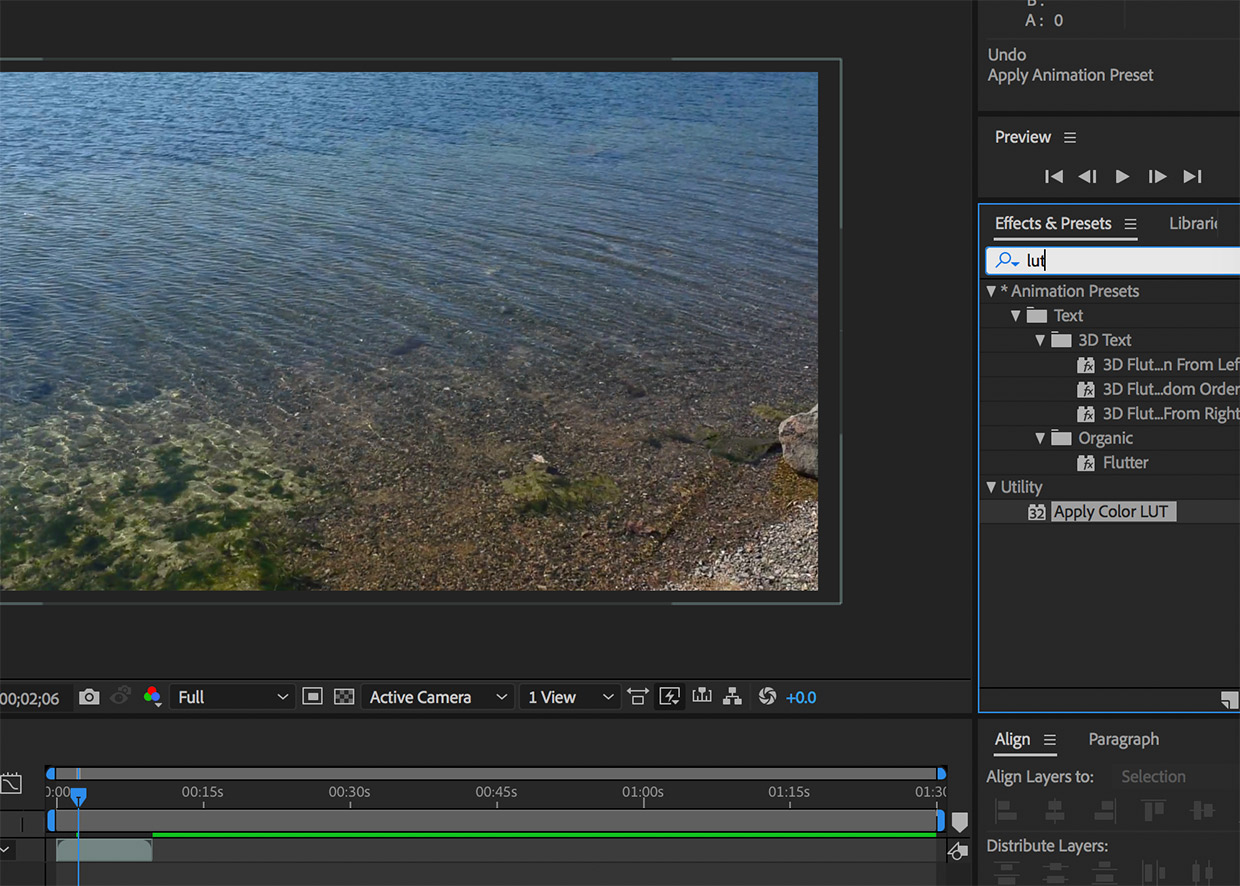
Now that you have the Effects & Presets panel open, all you have to do is search for ‘lut’ or ‘apply color lut’ specifically to find the utility you’ll use to apply LUTs in After Effects.
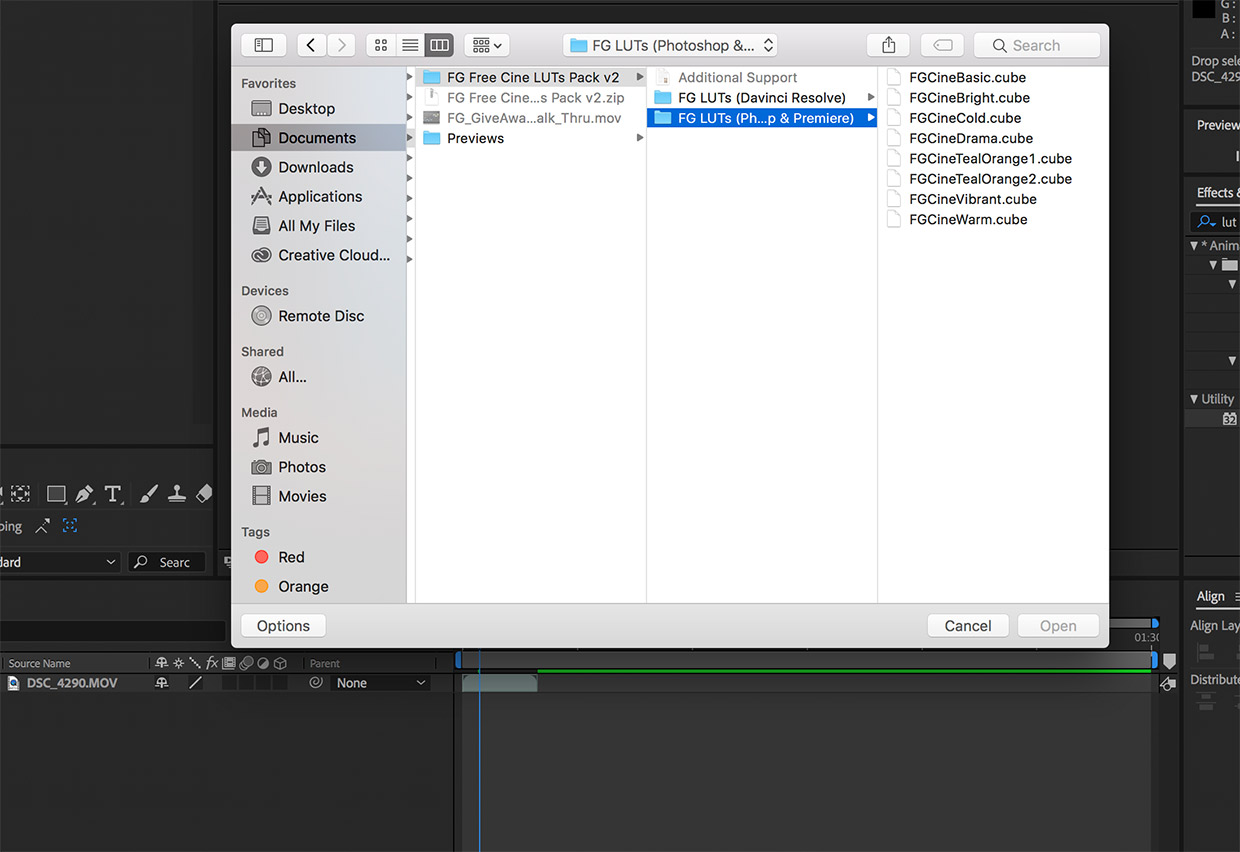
Click and drag the utility onto your clip and it will open your documents where you can search for the specific LUT you’d like to apply to your footage. For this tutorial we’re working with the free cinematic LUTs pack.
After you select a LUT, it will be applied to the clip that you added the Utility preset to. You can view the Effect Controls in the top left of your workspace where you can reset the LUT and/or choose a different LUT for your clip if you’re going for a different look.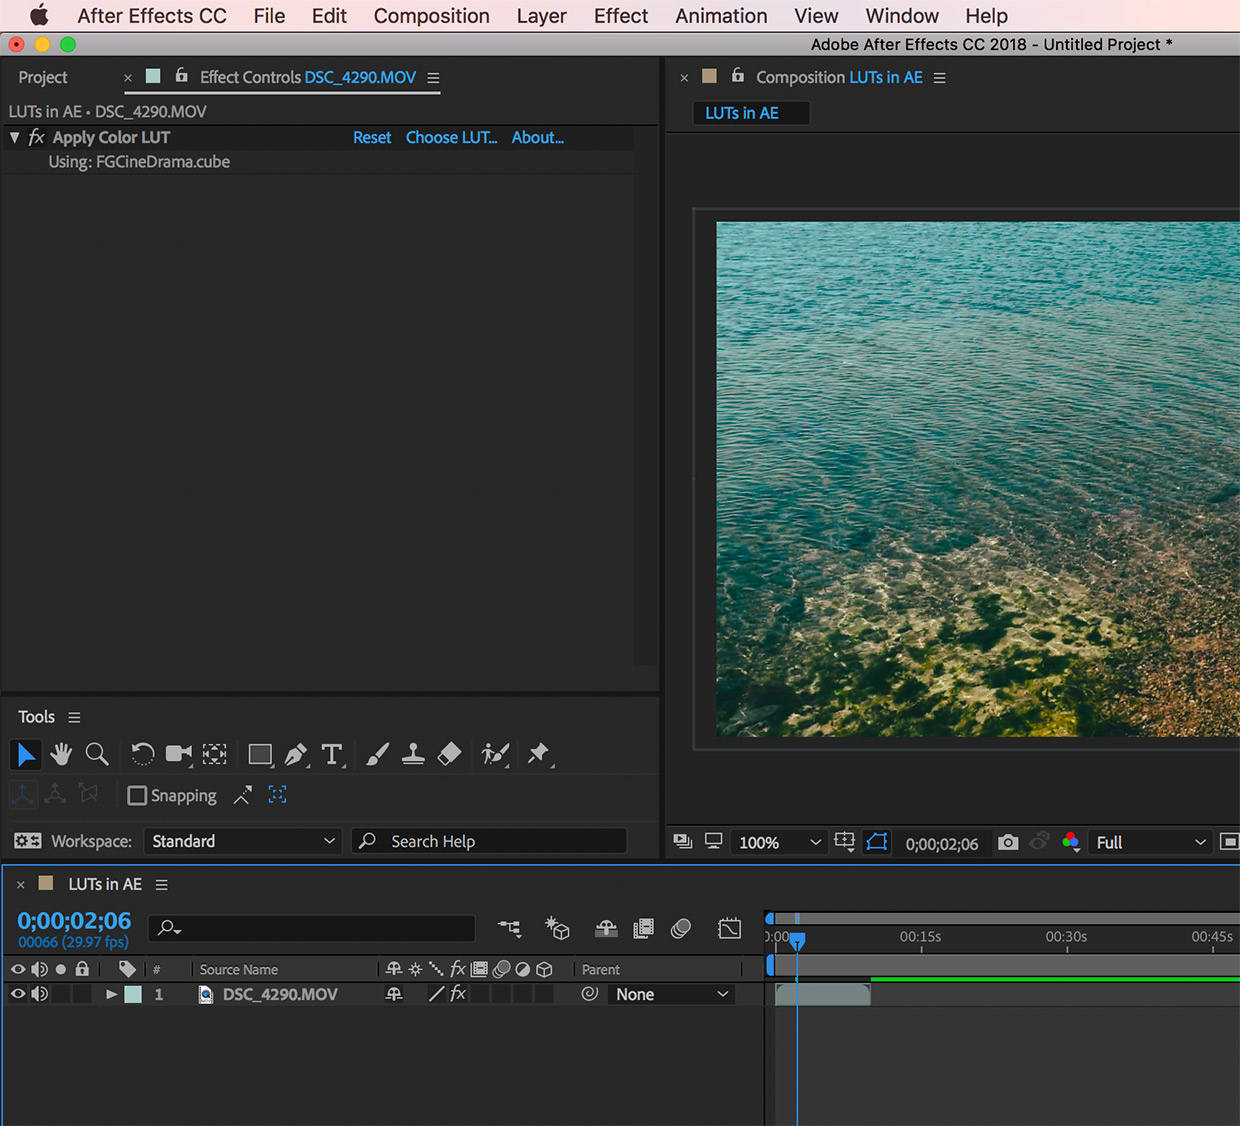
Notes from Adobe
According to this After Effects user guide from Adobe, the ‘Apply Color LUT’ utility effect works with 8-bpc, 16-bpc, and 32-bpc color. You can get a better idea about managing color in After Effects with this user guide.


