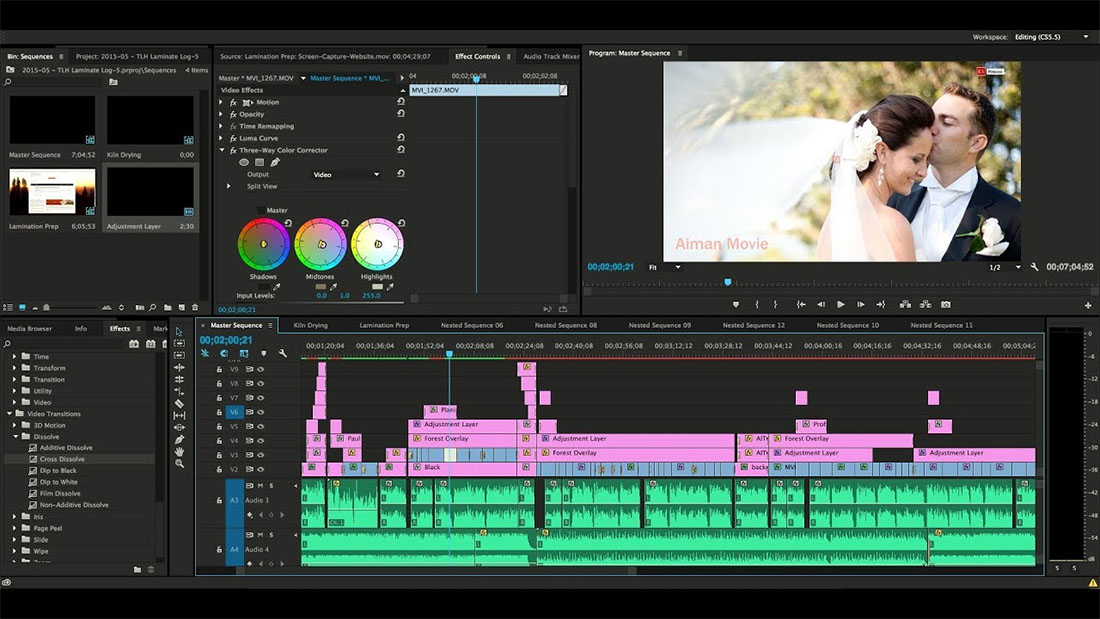
Using LUTs can be helpful when color grading footage in Premiere Pro. With lookup tables, you are able to get a good color base and can build from that point to grade your entire project. I usually like to edit clip by clip to account for light/color inconsistencies.
In this tutorial, I will be covering the basics of how to install and use LUTs in Premiere Pro. There are two main methods for doing so. The first, which involves inputting LUTs individually, makes it easy to add a LUT to your video quickly. The second method, which involves copying the LUT files to another folder, takes a little longer, but has some key benefits. Your LUTs will be added to Premiere Pro permanently following this method allowing you to quickly load any LUT that you have already copied into Premiere.
More on that below, first learn how to use LUTs in Premiere Pro quickly through the Lumetri Color Panel.
1. Import Footage
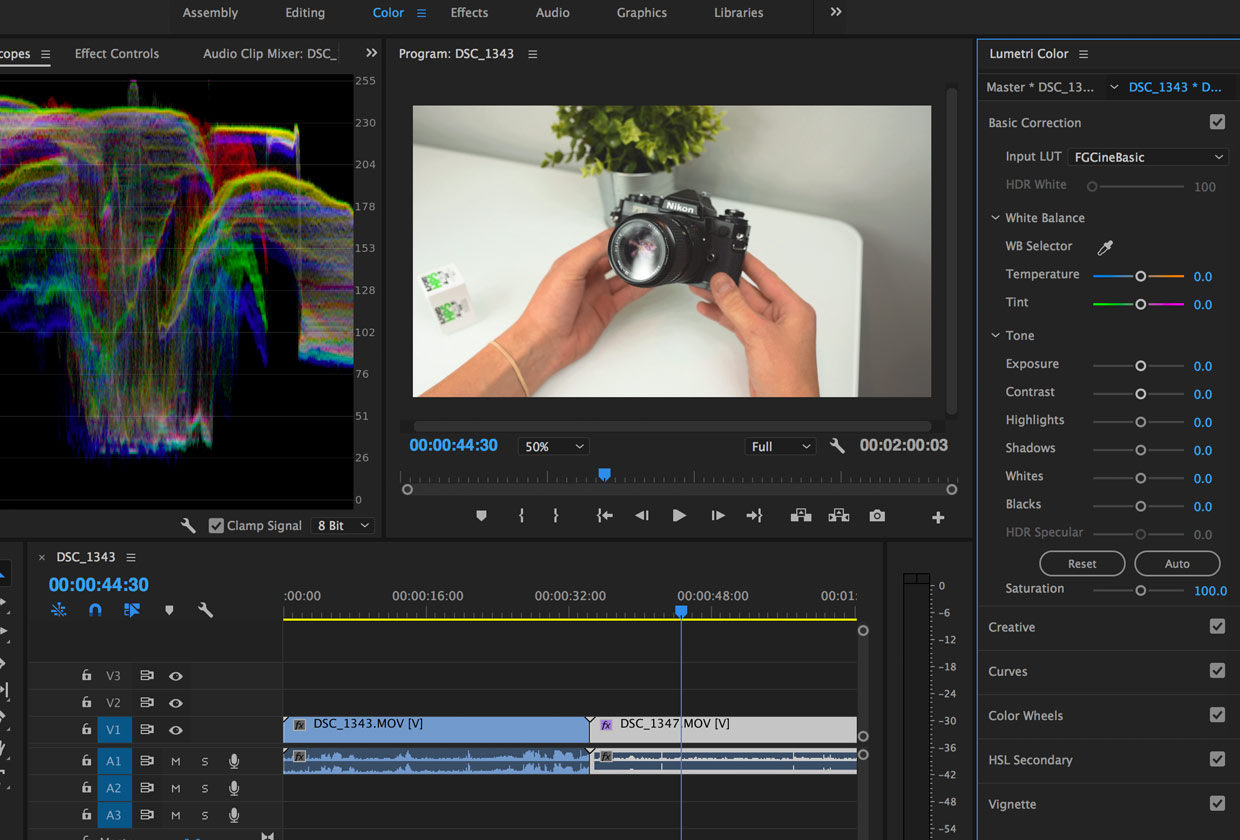
Start by importing your videos or open a recent project. Once you have your clips ready to go, navigate to the Color Tab and look for Basic Correction.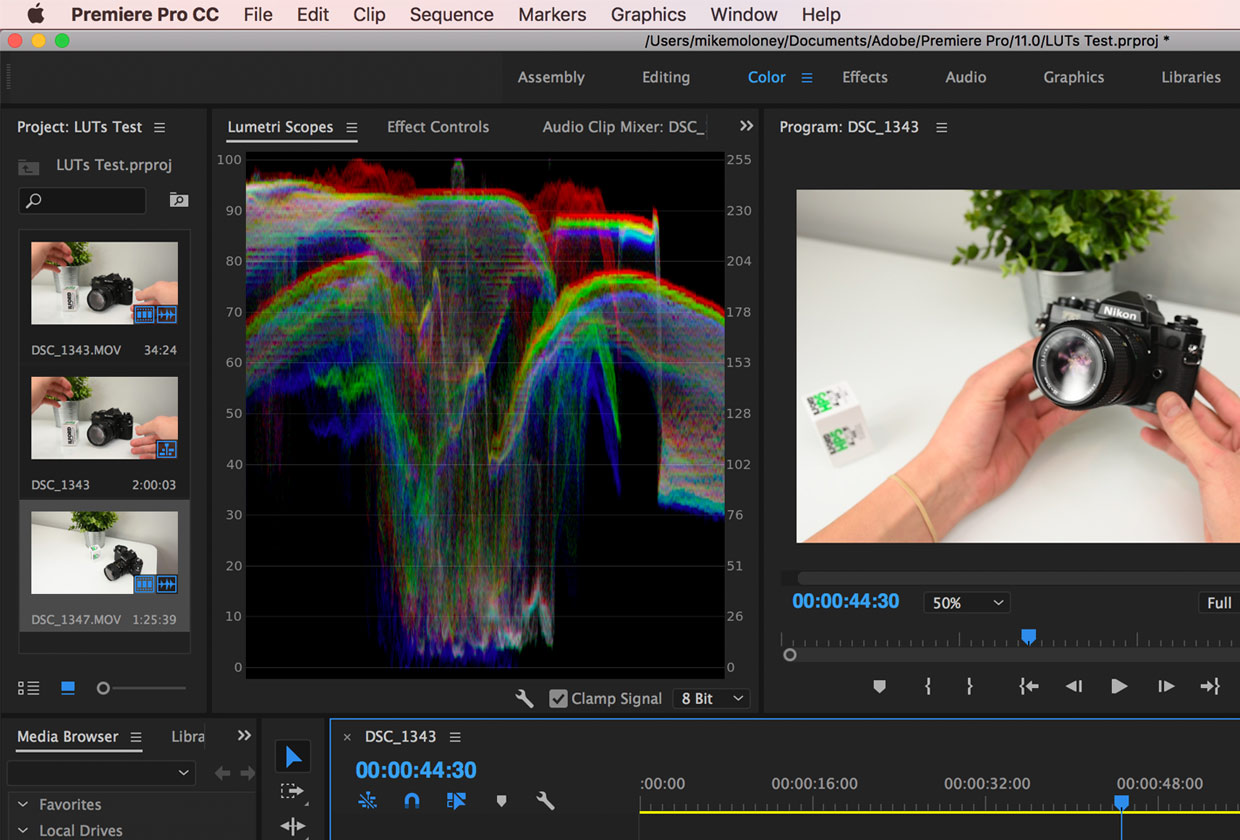
2. Input Custom LUTs
In the Basic Correction section, you’ll see a button titled ‘Input LUT’ with the clickable word ‘None’ next to it. Click this button and then click Browse.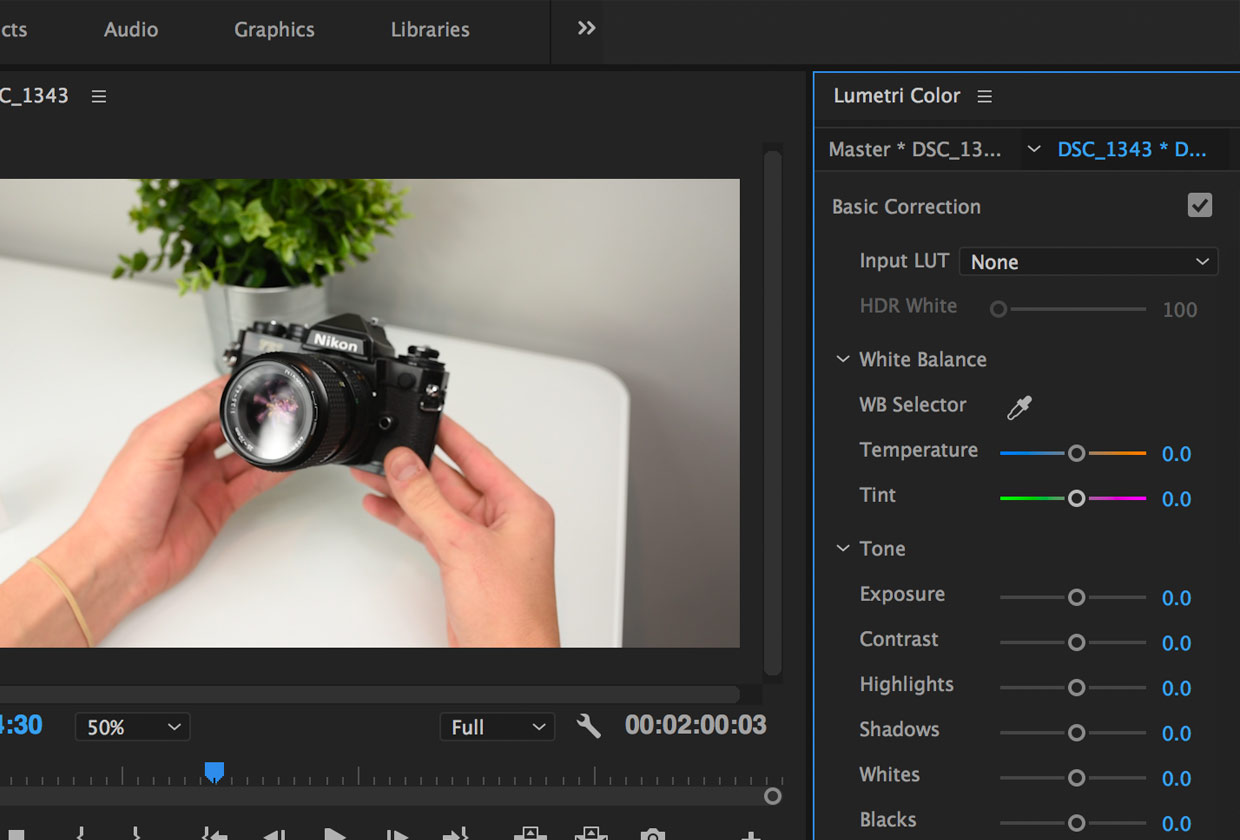
Clicking ‘Browse’ will open up your folders. Navigate to the desired LUT you downloaded to apply it to your clip.
Once applied, you can see the effects of the LUT on your footage. You’ll also see the color waveforms change in your Lumetri Scopes tab to give you an idea of how the LUT affects your clip.
From here you can adjust the White Balance, Tone, Highlights/Shadows, and more to get your clip just right.
Copying LUTs into Premiere Pro
If you want to add LUTs to Premiere Pro permanently so you can just select them rather than look them up within your folders, you can do that too. Here are the steps to do so on a Mac. I’ve included the files paths for both Mac and PC below.
2019 Update from Adobe
Below are the updated and recommendedinstructions for adding multiple LUTs in Adobe Premiere Pro 12.1:
“Basically, you create new shared folders for the LUTs and then you can simply add your LUTs to them.”
Custom LUT directories
Available only to the local user
Create LUTs folder and then 2 folders within that folder at the following location:
Per user directory:
Mac Users
/Users//Library/Application Support/Adobe/Common/LUTs/Creative
/Users//Library/Application Support/Adobe/Common/LUTs/Technical
Windows Users
C:UsersAppDataRoamingAdobeCommonLUTsCreative
C:UsersAppDataRoamingAdobeCommonLUTsTechnical
Or use these directories if you’d like to make LUTs available to all users
Mac Users
/Library/Application Support/Adobe/Common/LUTs/Creative
/Library/Application Support/Adobe/Common/LUTs/Technical
Windows Users
C:Program FilesAdobeCommonLUTsCreative
C:Program FilesAdobeCommonLUTsTechnical
5. Apply pre-loaded LUTs from the Lumetri Color Tab in Premiere.
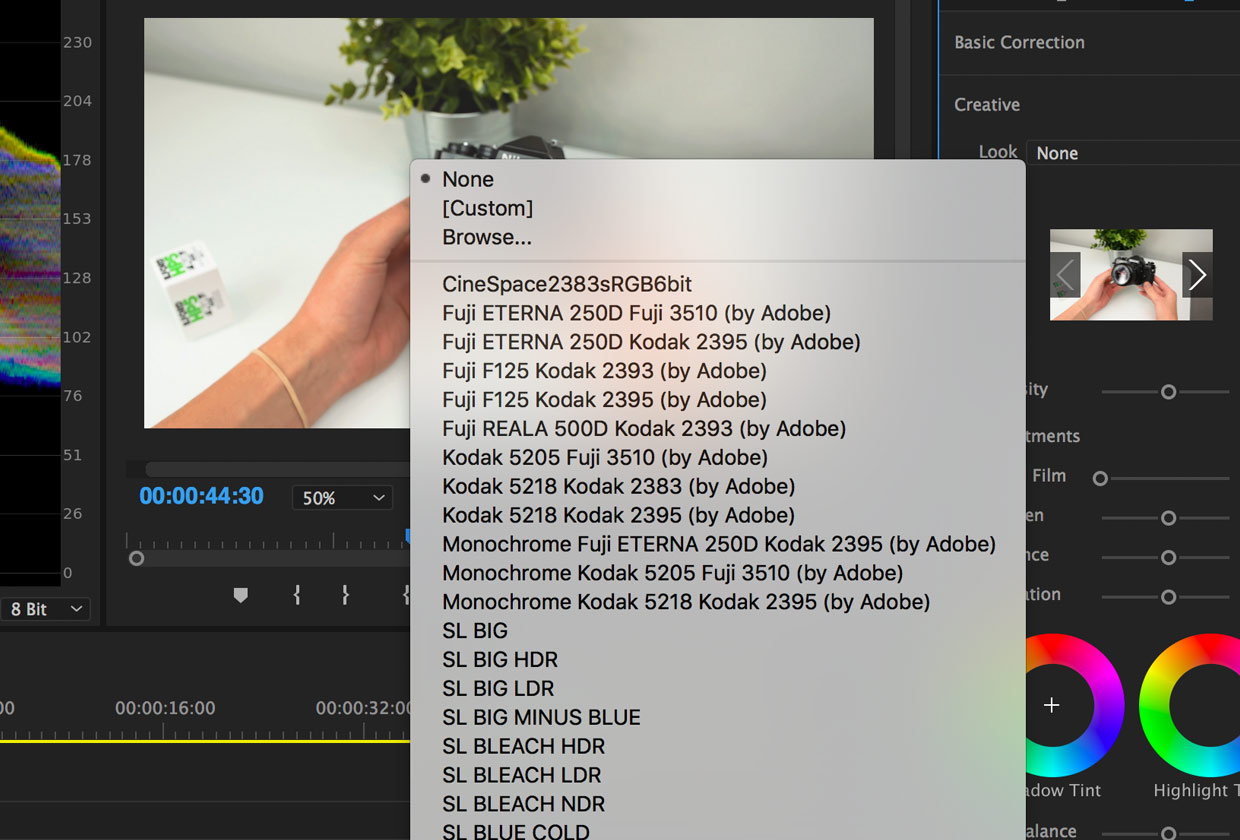
If your LUTs are not showing up when you try to load one from the dropdown, make sure you are under ‘Creative’. The pre-loaded LUTs show up in the Creative section of Lumetri Color, not the Basic Correction section.
This gives you the added benefit of being able to adjust the intensity of your LUT making it less or more intense from the current state.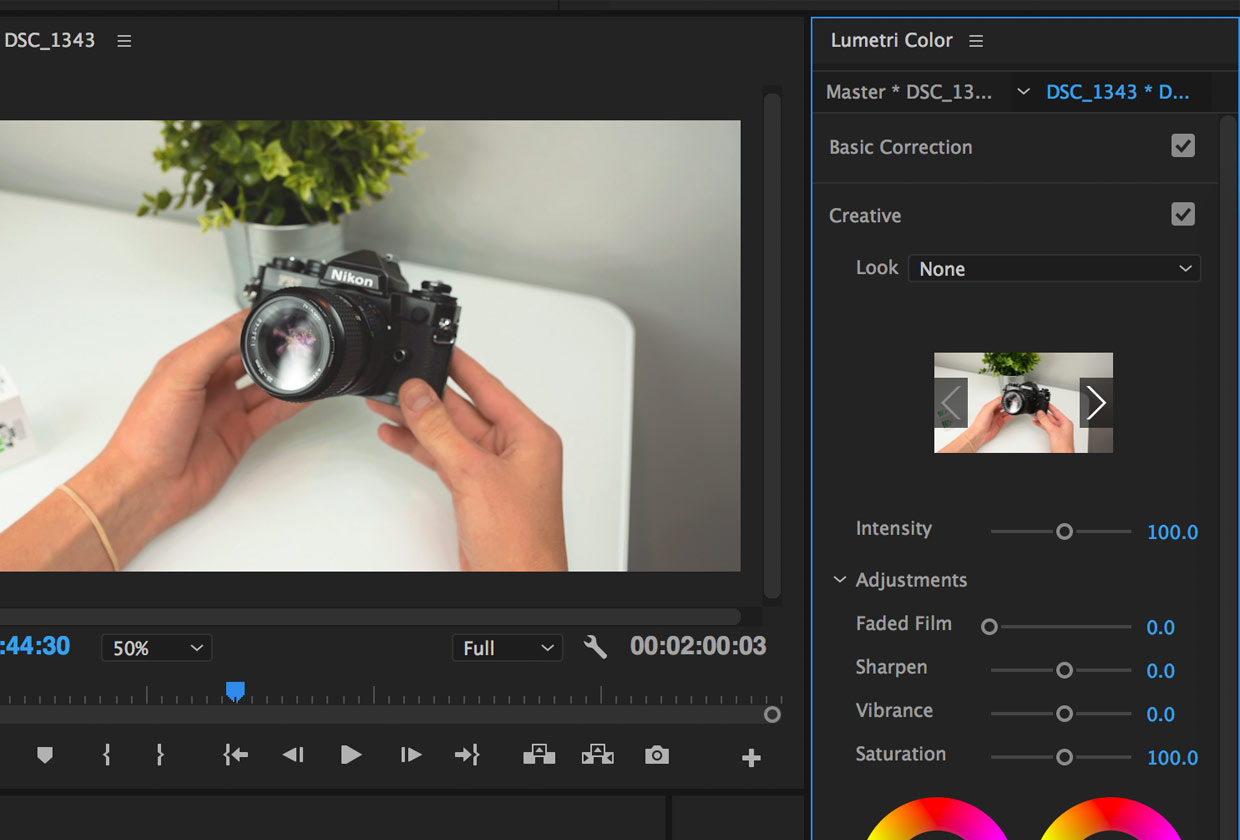
File Paths for Premiere Pro LUTs
Mac: /Library/Application Support/Adobe/Common/LUTs/Creative
PC: C:Program FilesAdobeCommonLUTsCreative

 Italiano
 Deutsch
 Español
 Português
 Français