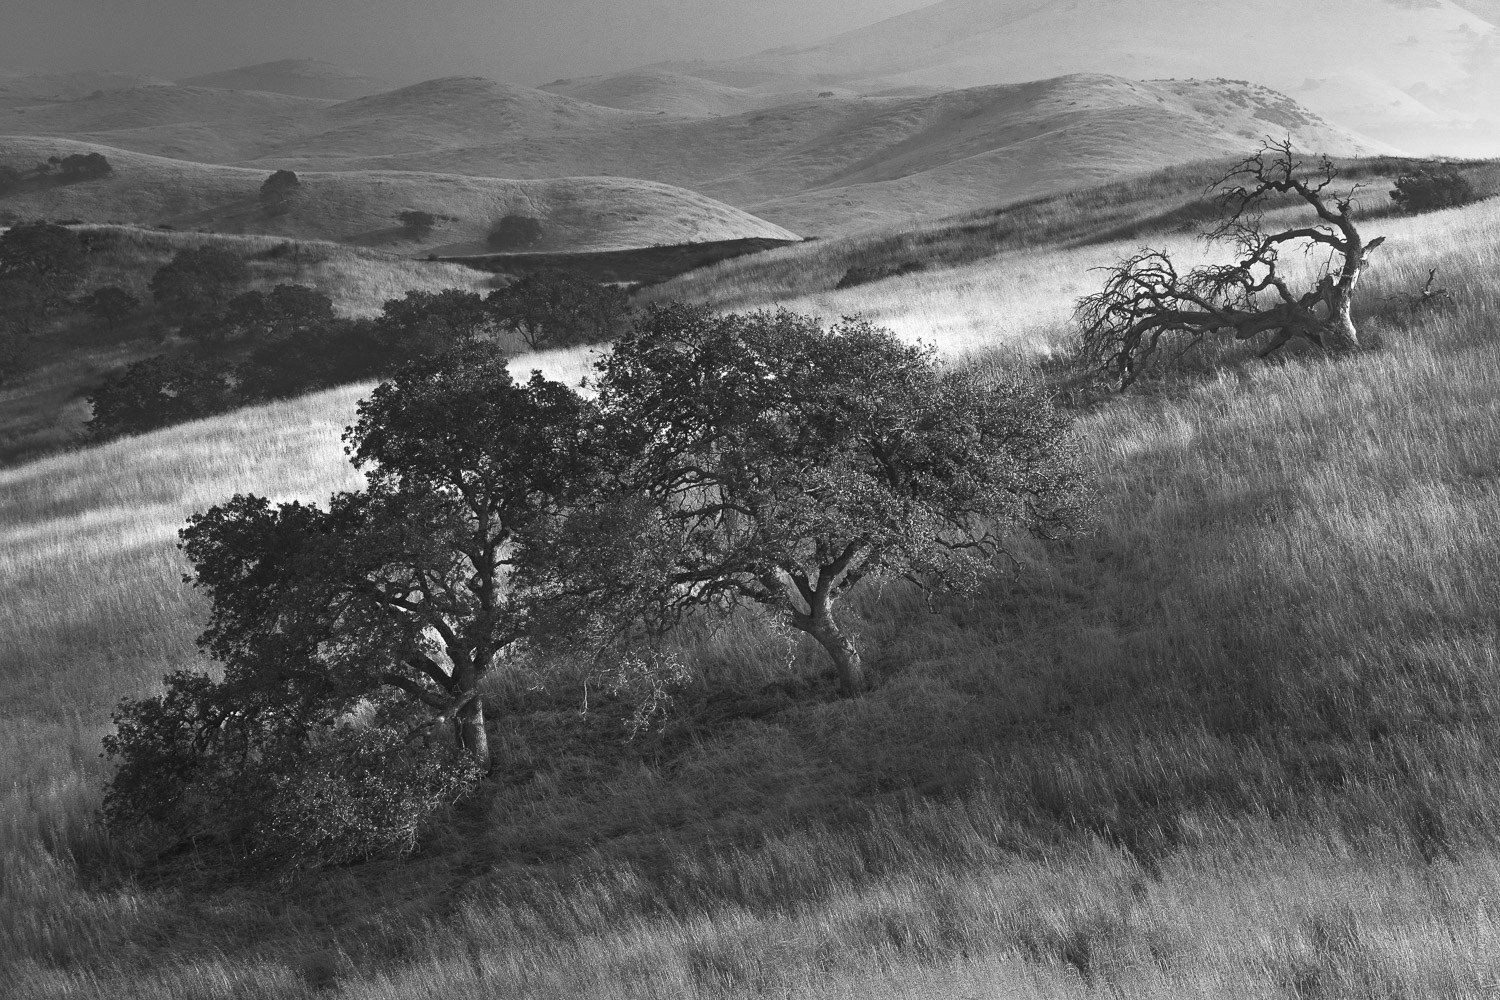
When you think about it, a black and white photograph doesn’t make sense. No, really. At it’s most basic level, black and white photography presents us with a version of our world that we know is not accurate. The colors we normally see get shown to us in values of white, black and gray. We know a black and white photo isn’t true-to-life and yet a strong black and white photograph can transcend the sum of its parts. It can transport us to visual spaces which provoke emotions that even the brightest color photograph cannot achieve.
Even though a black and white picture is called “black and white” seldom are they merely tones of gray. A strong black and white image often present subtle color tones in the shadows, highlights, mid-tones or sometimes all three. Moreover, when it comes to concocting a black and white photo from a digital color image file, the way in which you approach your conversions can make or break the entire photograph.
However, not all methods are created equal. I’m about to show you one of the best ways I know to effectively convert and tone a photo to black and white. We’ll do this using a quiet little tool in Photoshop called the Gradient Map. When it comes to taking a digital black and white photograph from “meh” to “WOW” the Photoshop Gradient Map will be your best friend.
What is the Gradient Map?
The Photoshop Gradient Map is essentially just what it sounds like; a way for you to map out and control the color tones of different luminance values within your photo.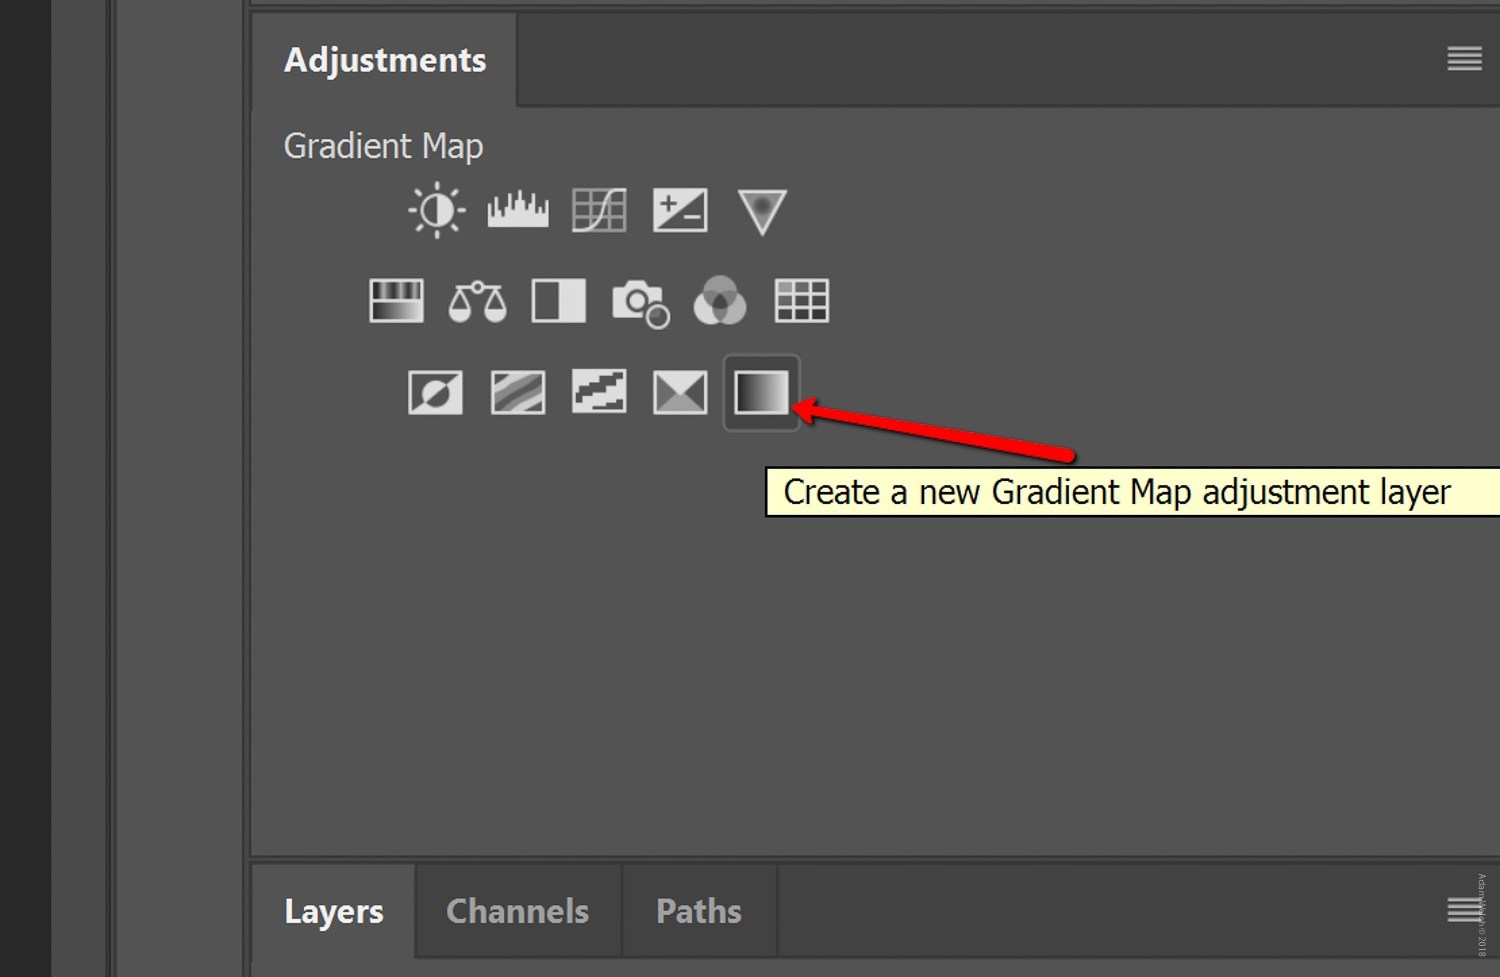
Toning with the gradient map can be shockingly simple (as with this lesson) or as delightfully complex as you choose to make your adjustments. Ok, enough talk, let’s get started. Let’s take a RAW color photo and begin the process of converting it to black and white, followed by toning it with the gradient map in Photoshop.
Begin with basics
To begin, I highly recommend you use a RAW image file. Doing so offers you the greatest amount of wiggle room to adjust the values within the photo after you convert it to black and white.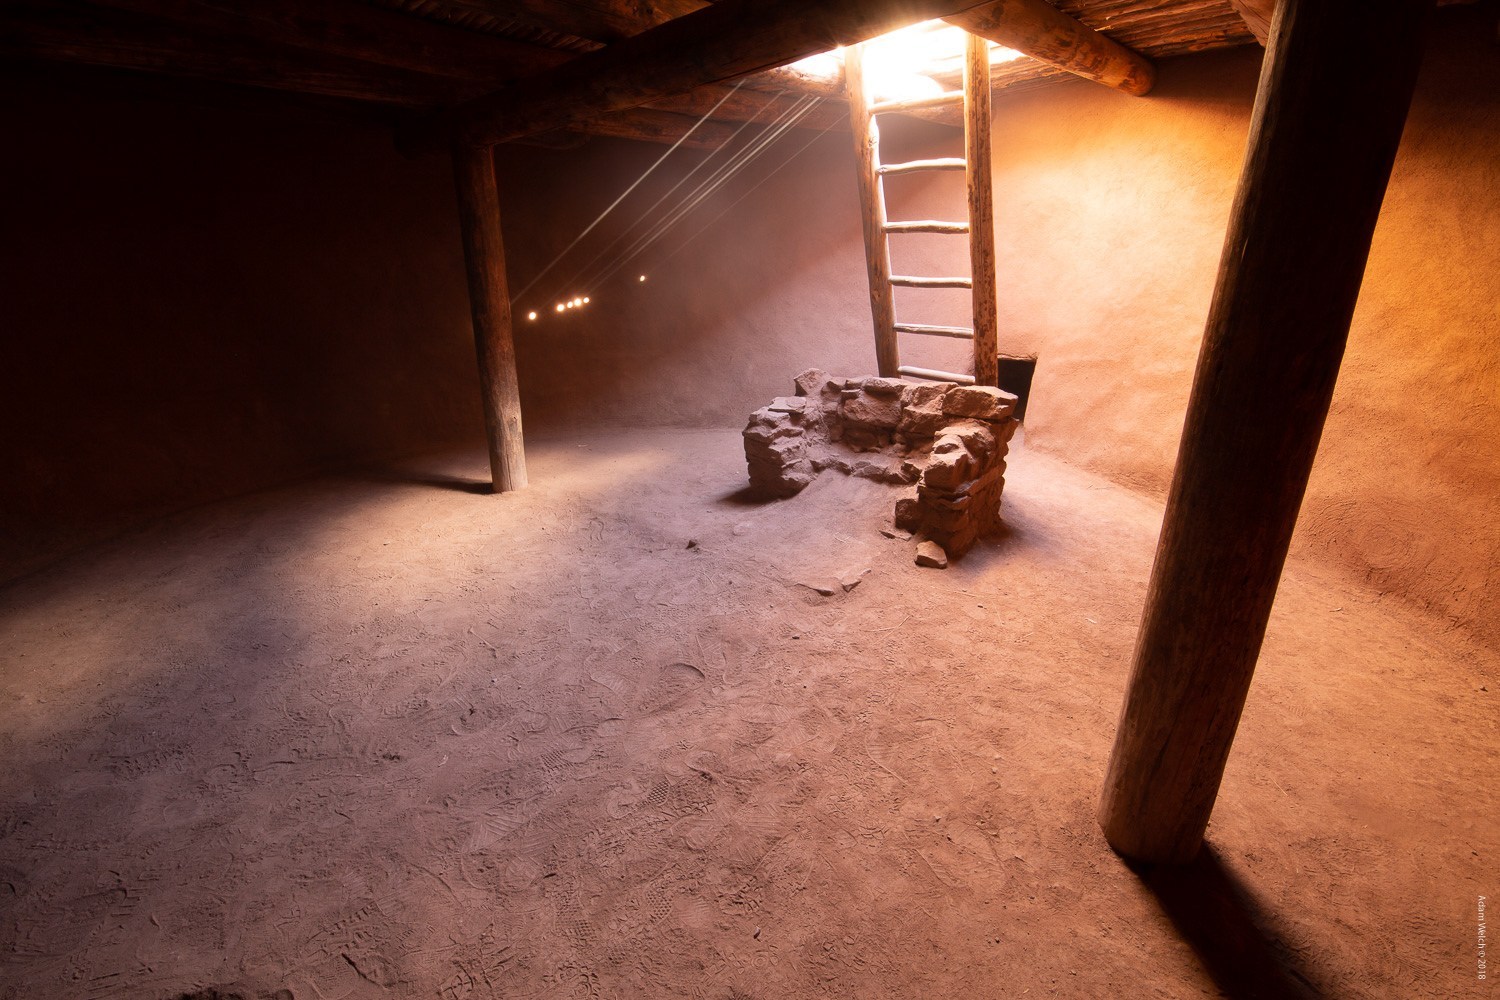
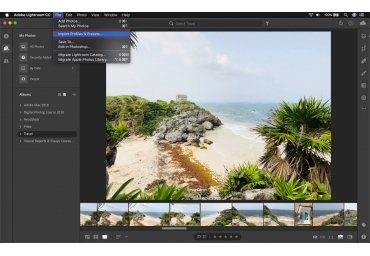
I’ve started with a photo opened in Lightroom to complete some basic edits. However, you can complete the entire process right inside of Photoshop. Preferably, converting the image to black and white and toning with the gradient map should be one of the last steps in the process. Of course, editing can take on a life of its own, so don’t hesitate to dynamically adjust your photo at any stage. Here we have the RAW file after some core edits in Lightroom.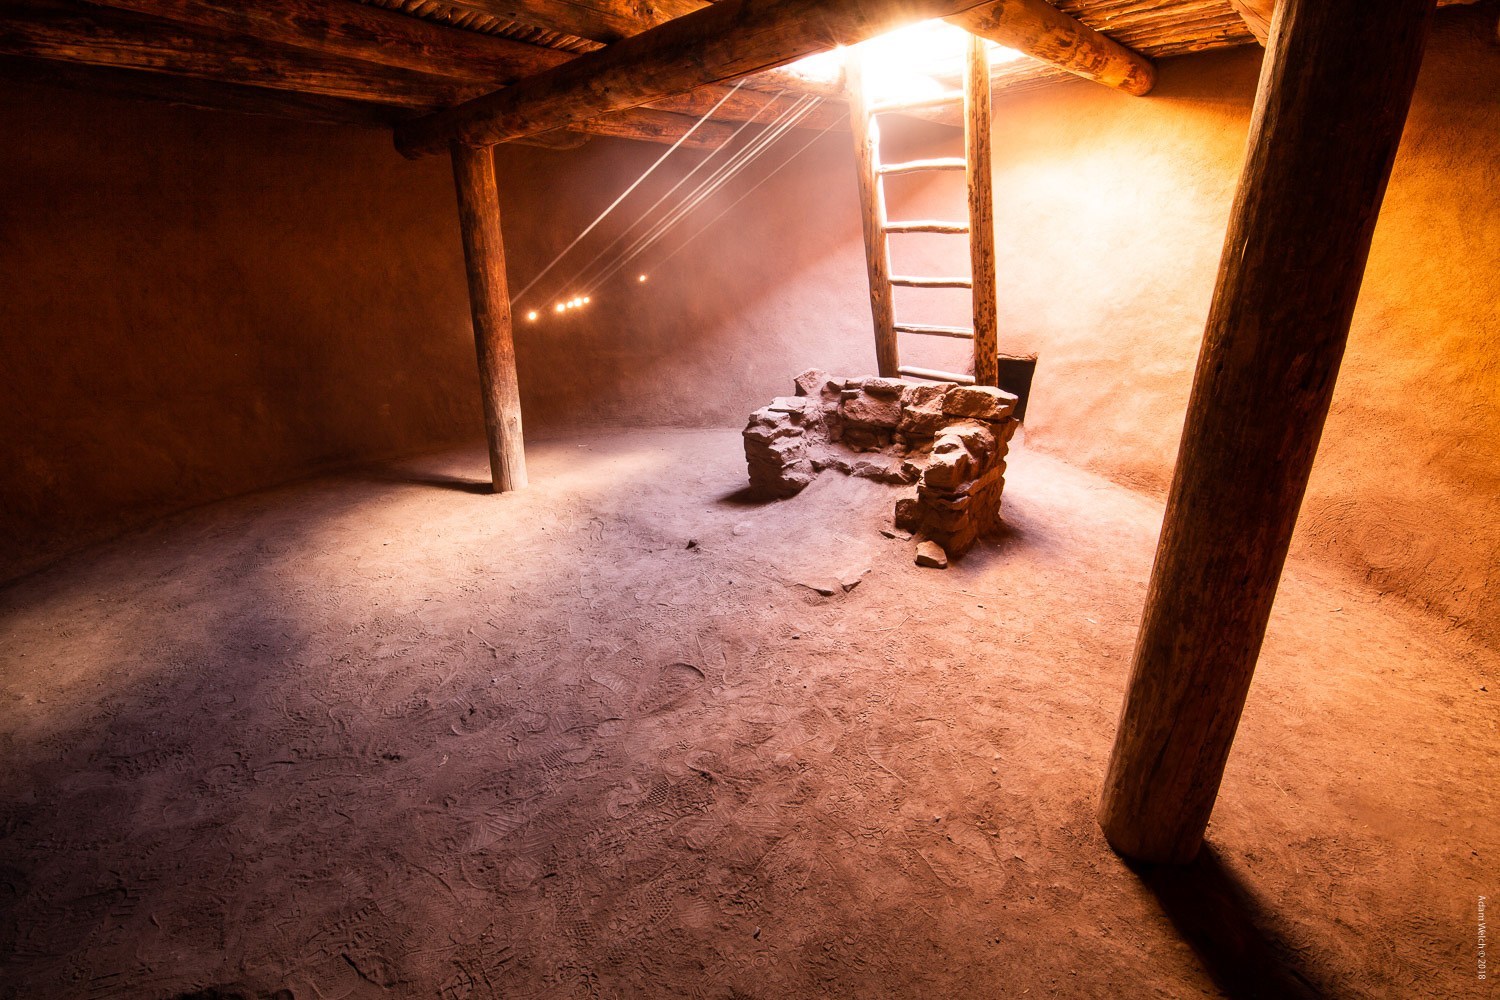
You may be asking “why not just convert to black and white right now?” I don’t recommend converting the photograph to black and white before opening it in Photoshop. The reason for this is because it completely robs you of the vital color information that allows adjustments of the individual color luminance values.
Next, I’ll kick the image over to Photoshop….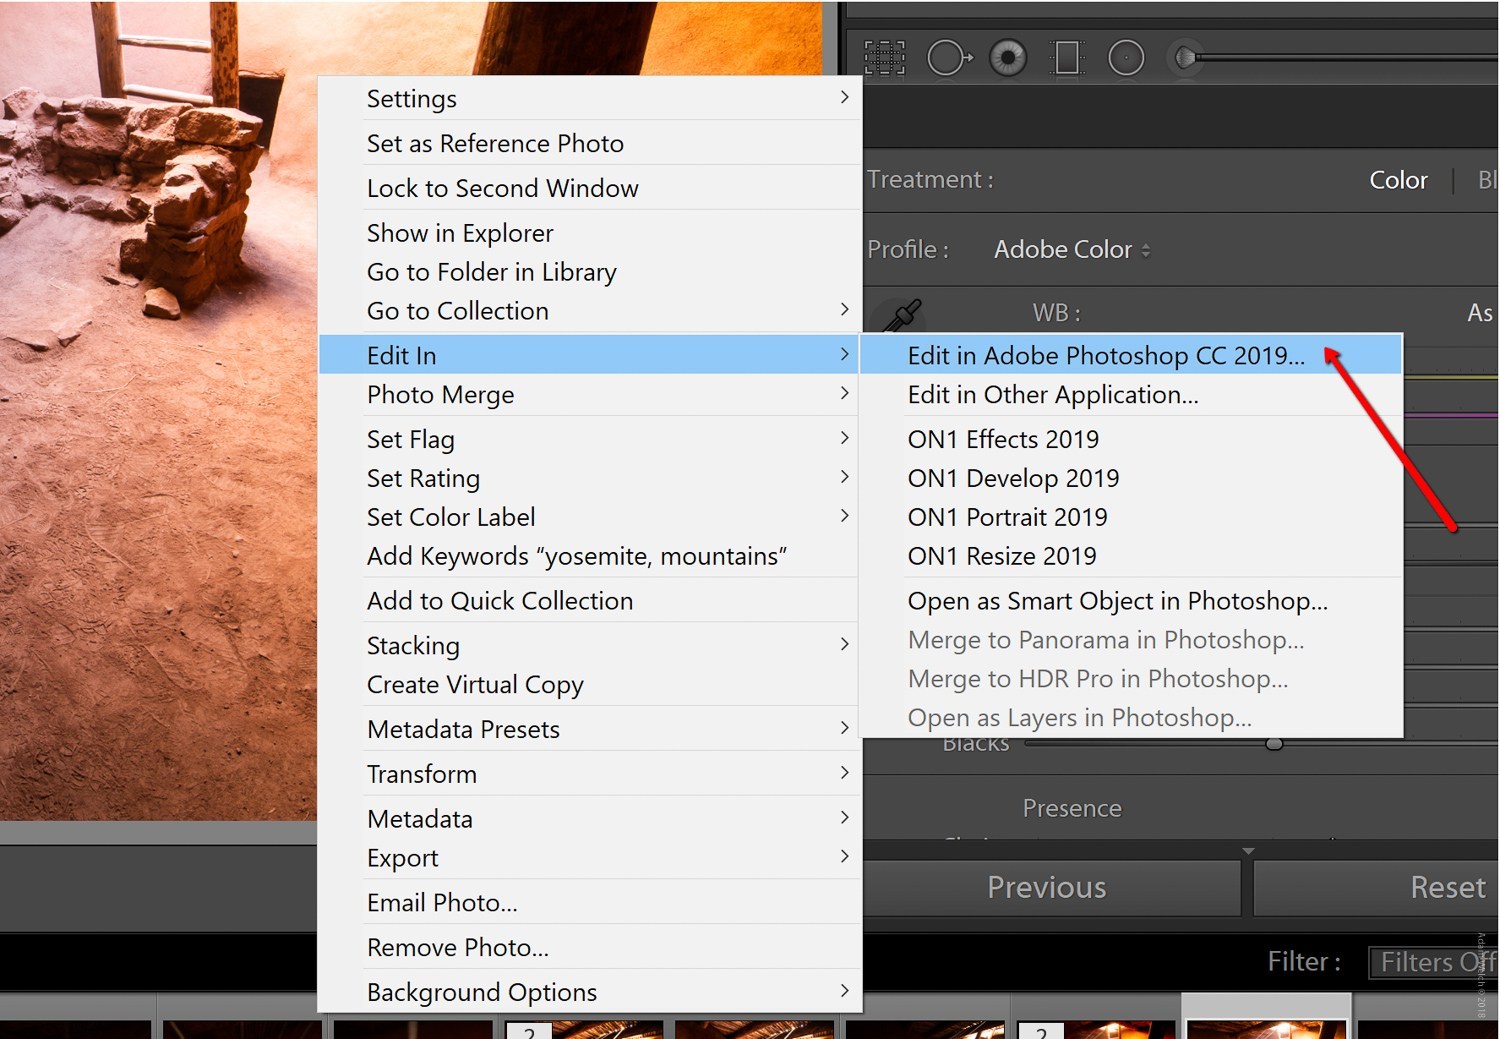
Now the real fun begins! Come on…it really is fun.
Conversion and Toning with the Gradient Map
After you open your image in Photoshop, convert it to black and white. To achieve this, add a black and white adjustment layer.
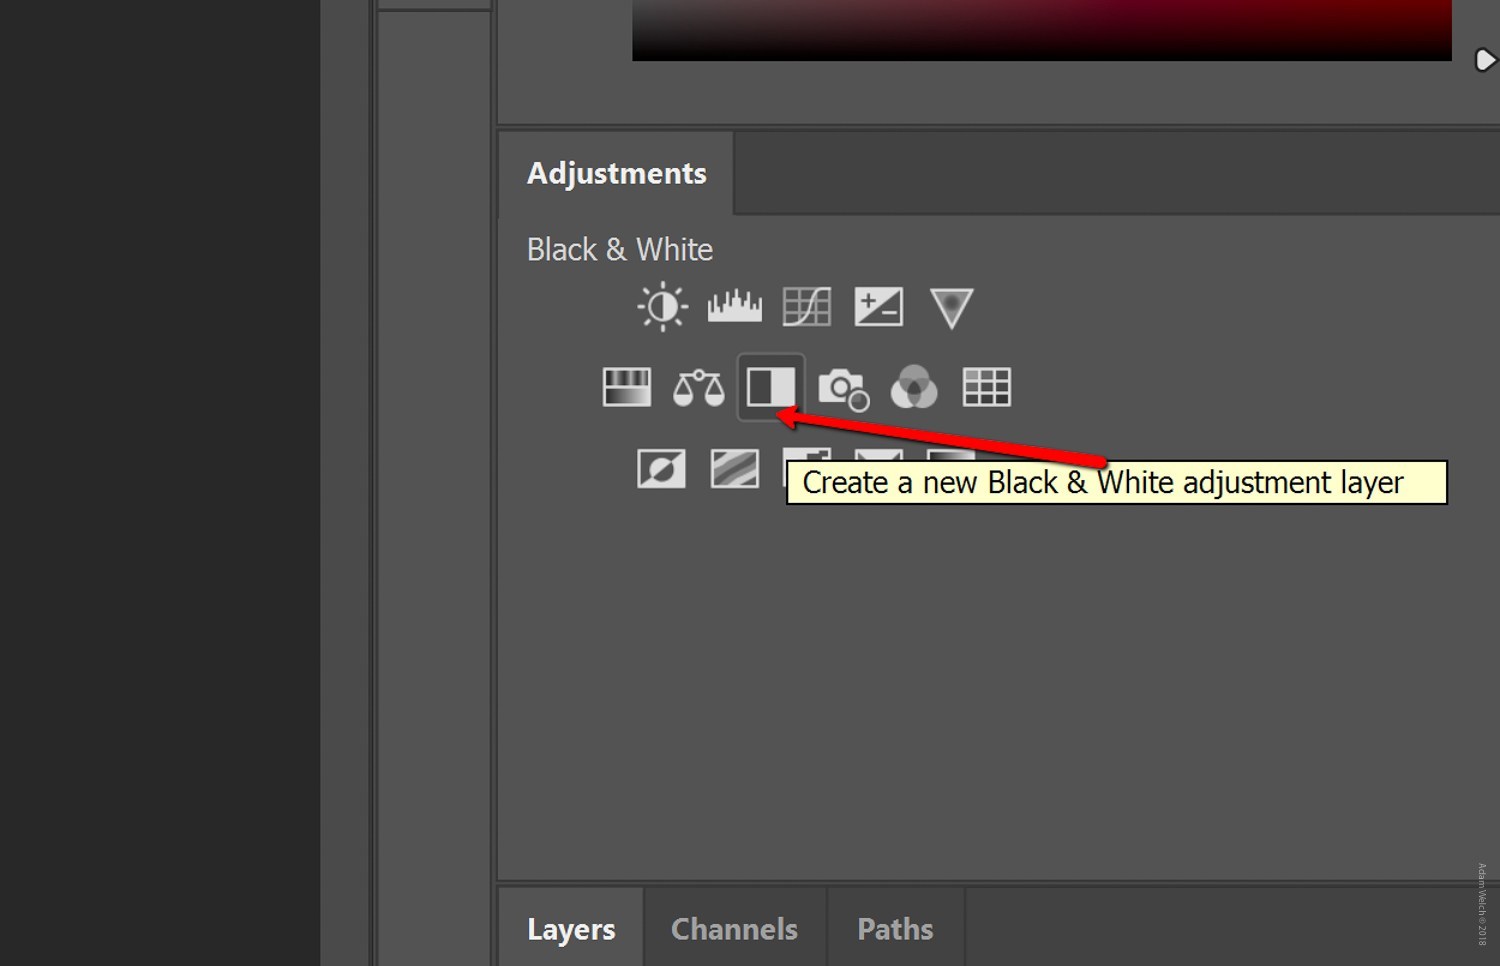
Although it’s not necessary to do so, feel free to name this layer something specific. At this point, you can adjust the individual color luminance values to your liking. See, I told you there was a reason to hold off on converting until this step.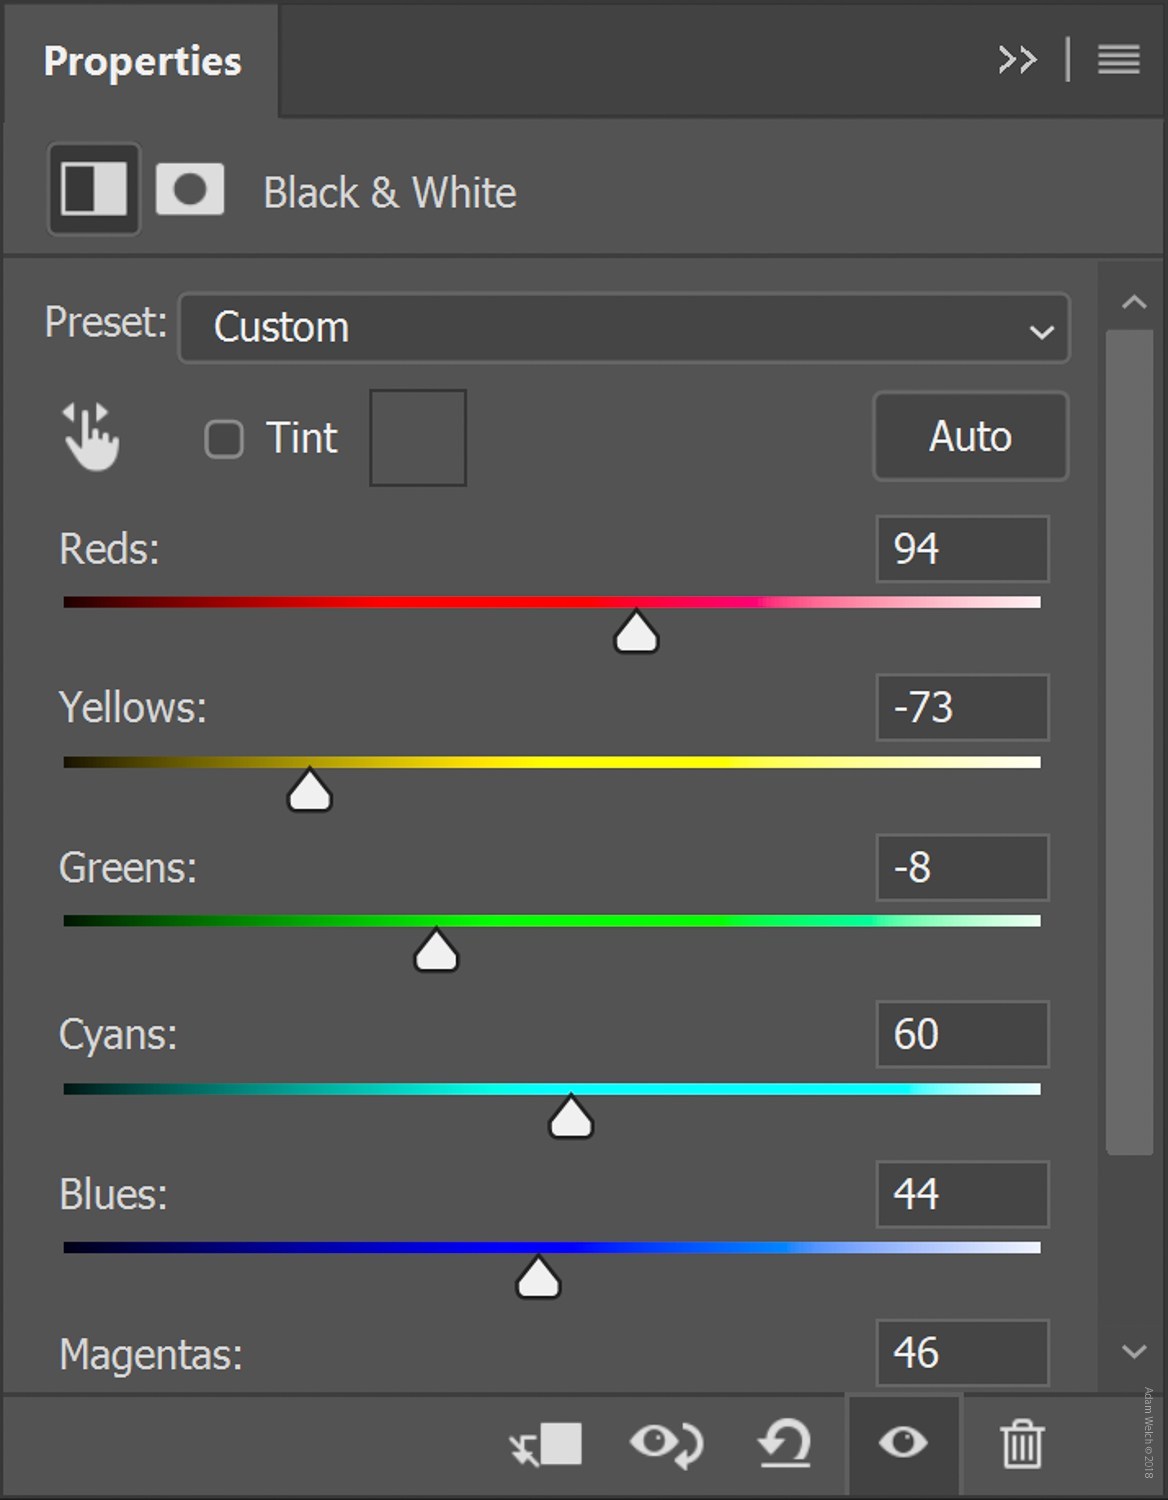
Now that you have a nicely converted black and white photograph you can jump into the toning process by adding a Gradient Map adjustment layer. Click on the Gradient Map icon just as we did with the black and white adjustment layer.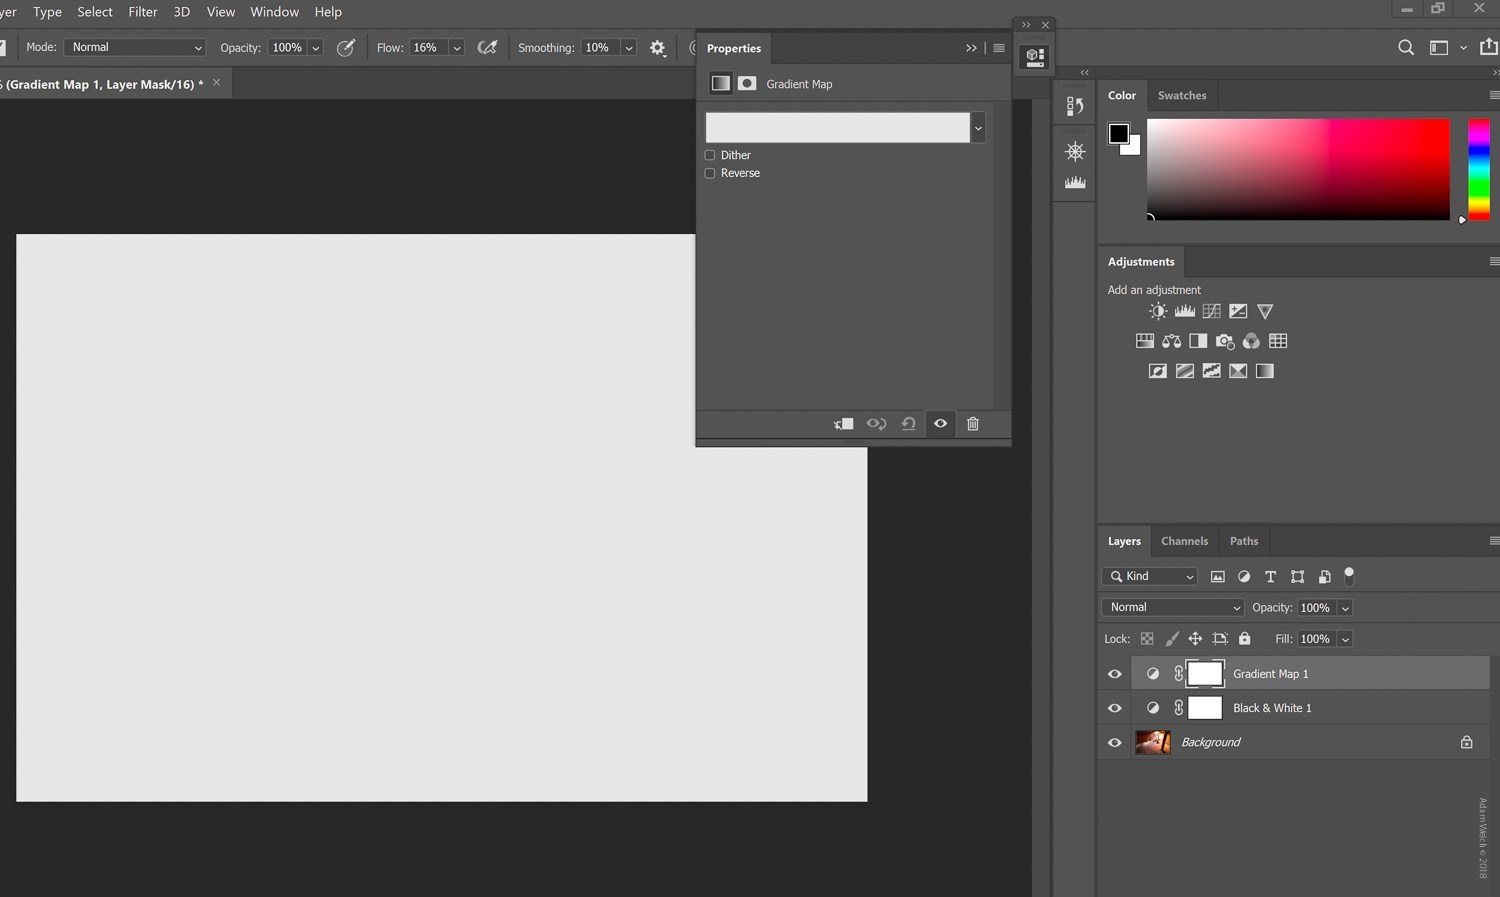
There are a couple of things we need to do after we select the Gradient Map. Depending on your default Photoshop settings, your view could appear slightly different than mine. Don’t worry, though, the steps are the same.
To select your gradient, click on the gradient drop down:

Then click the Settings Wheel to open up your toning options and make sure that Photographic Toning is selected.
You’ll be prompted to confirm you want to change to a new gradient. Click OK because you absolutely do.
Each of those little boxes represents a color gradient scheme you can select to tone your image. Think of these as gradient presets. For this photo, I’m going with an old favorite of mine, Platinum.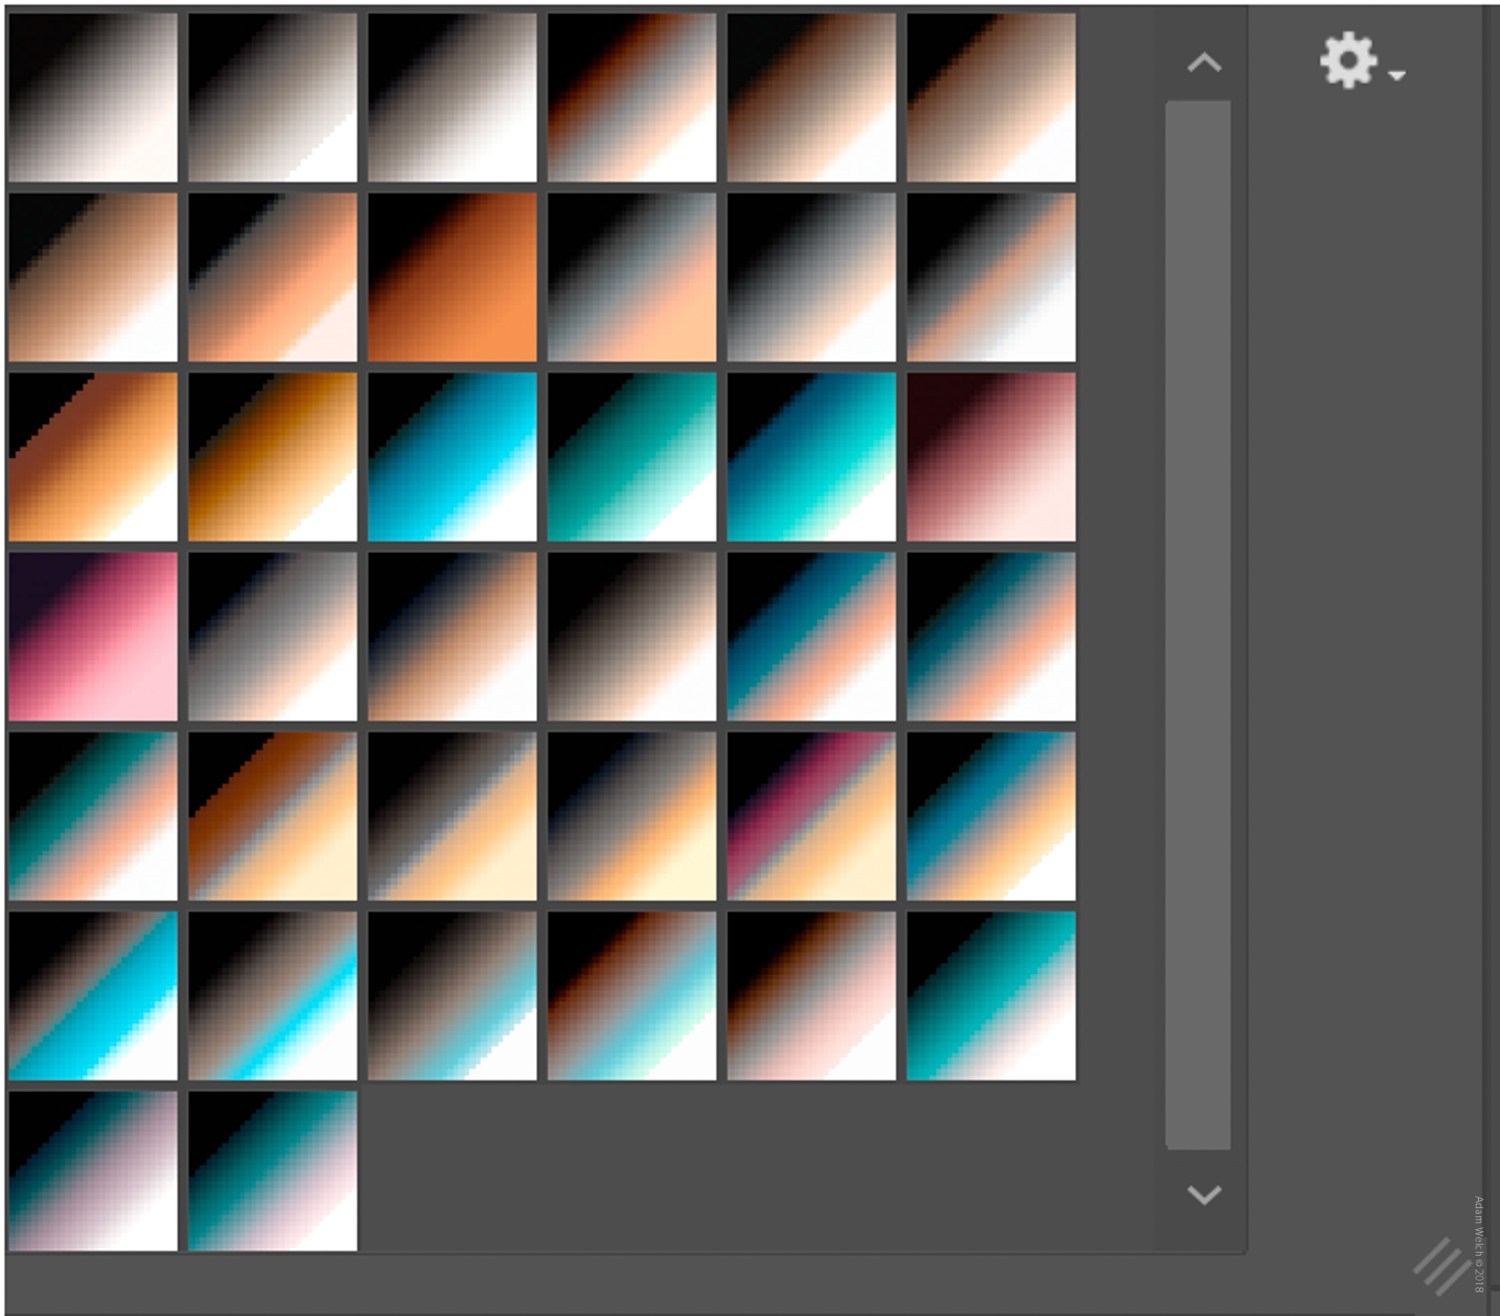
Don’t be afraid to experiment and find the flavor that you like for your photo. Remember, everything here is non-destructive so simply click the “undo” button at the bottom of the gradient map window to start over.
At this point, we are nearly finished with the bulk of our toning using the gradient map! Yes, it is that easy. However, before we go, I want to show you how to customize the gradient should you choose to do so. A gradient map adds color across the tonal values of your image. You can control just how it applies this by clicking the gradient (and even create new ones). Doing so opens up the gradient adjustment panel.
From this panel, we can adjust the individual values of the gradient to change color density and contrast. There are limitless combinations and color schemes available. So again, allow yourself to tinker, tweak, test and otherwise go completely wild with your gradients to see how they affect your photo. I’m not joking; the possibilities are endless. Didn’t I tell you this was fun?
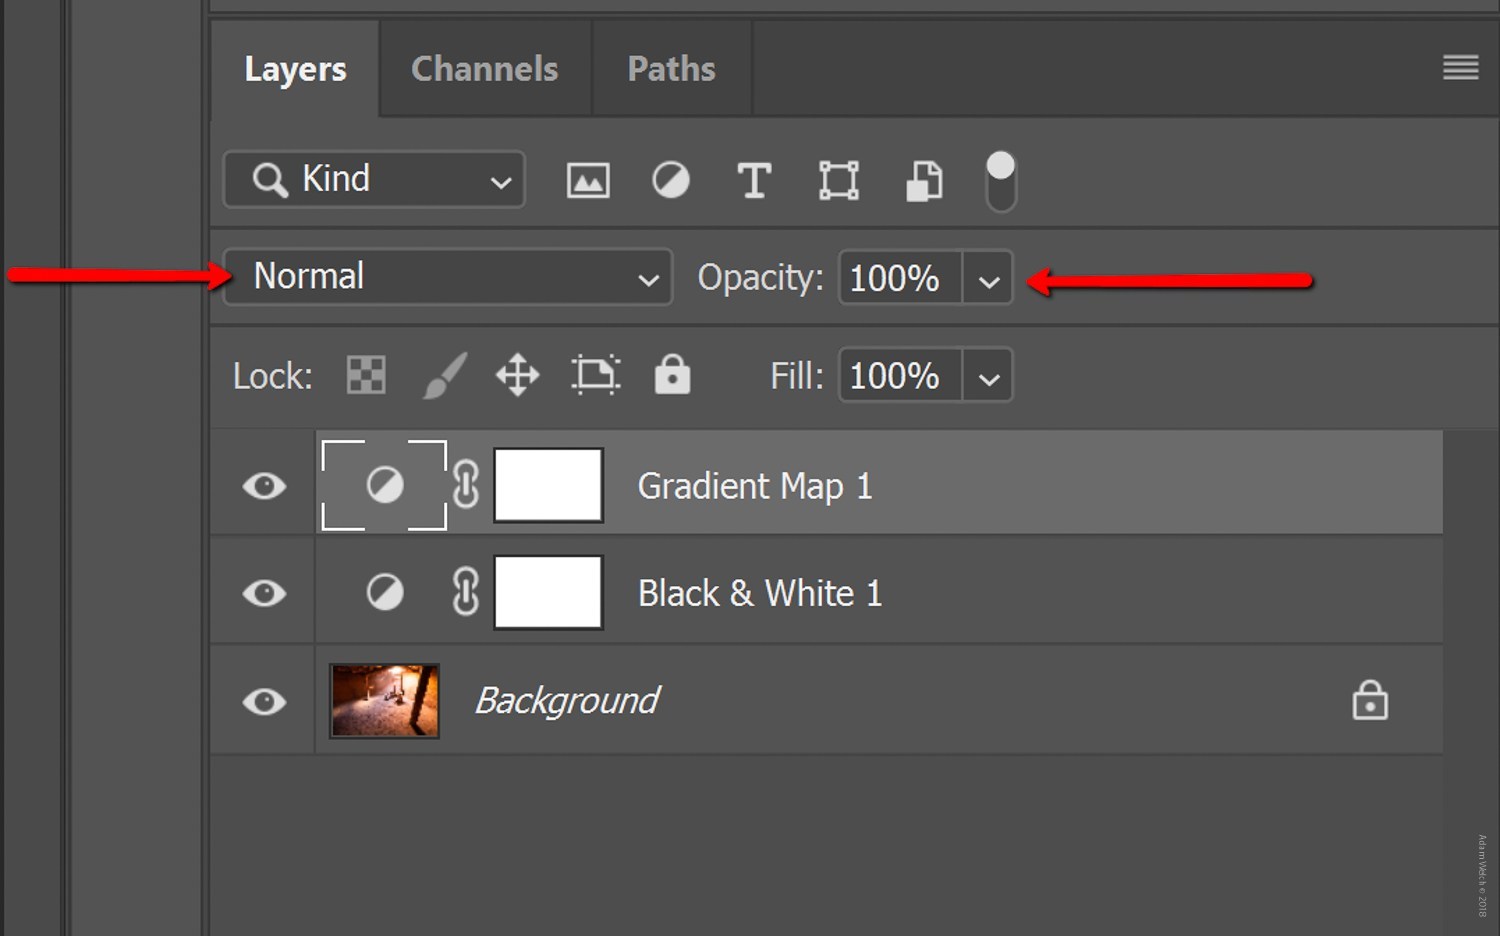
Last but not least, you can also adjust the layer blend mode and opacity of the gradient layer in the Layers Panel. Play with the percentage levels until you get the effect right.
Now you can further adjust your photo right here in Photoshop, or back in Lightroom. Or, if you are finished, you can save and export.
Final thoughts on Gradient Maps and Black and White
With just a few simple layers in Photoshop, we went from this…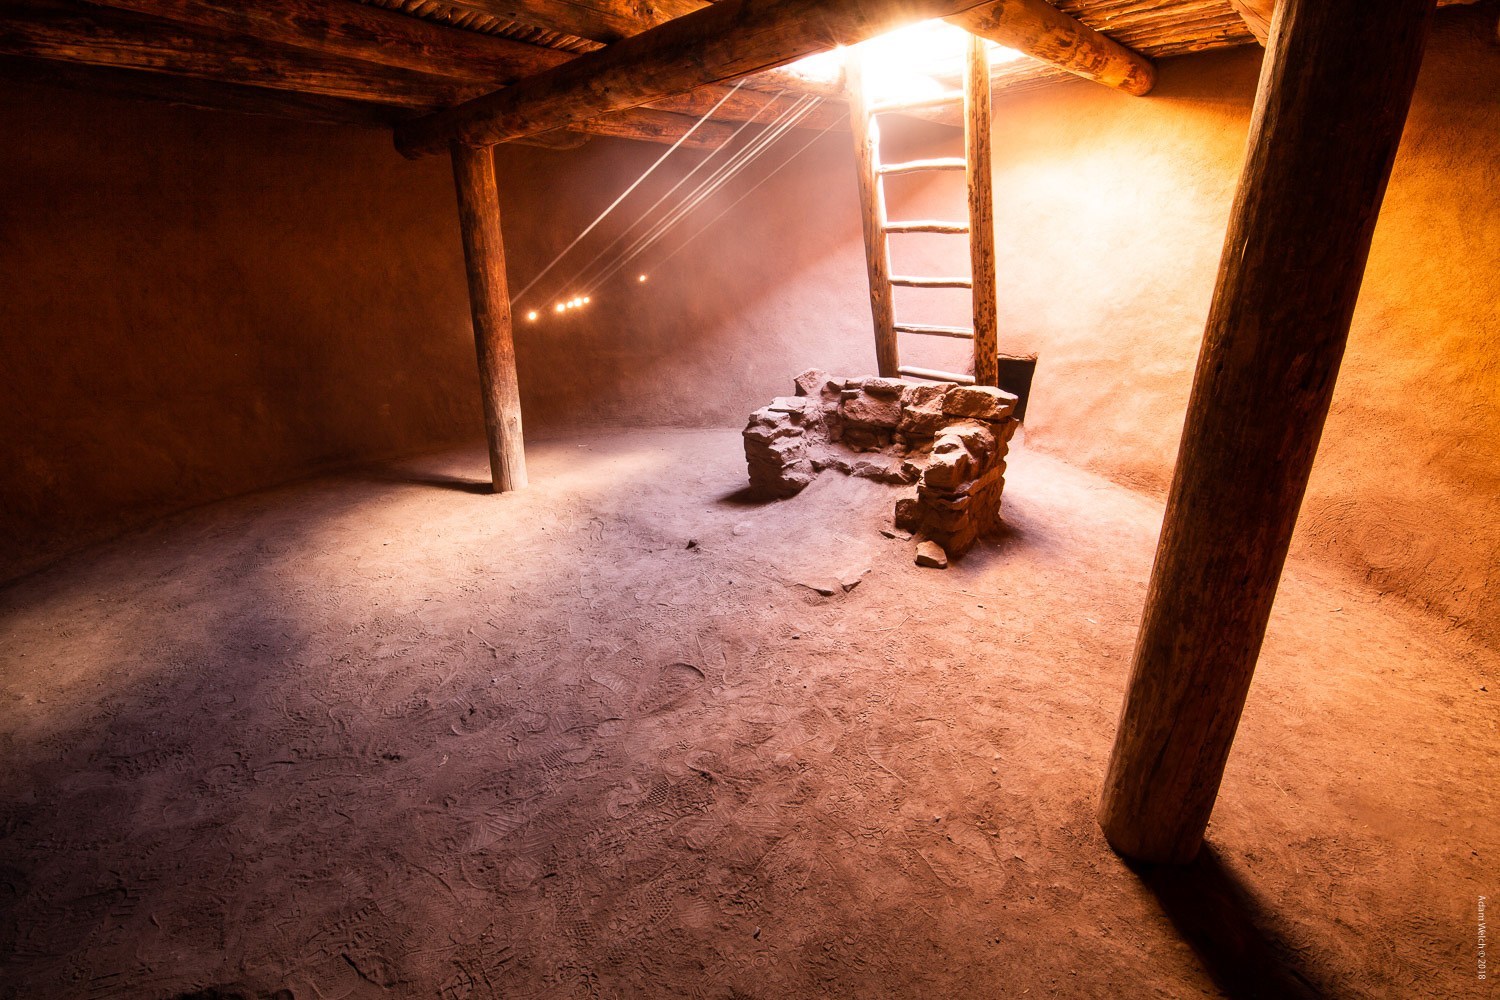
to this…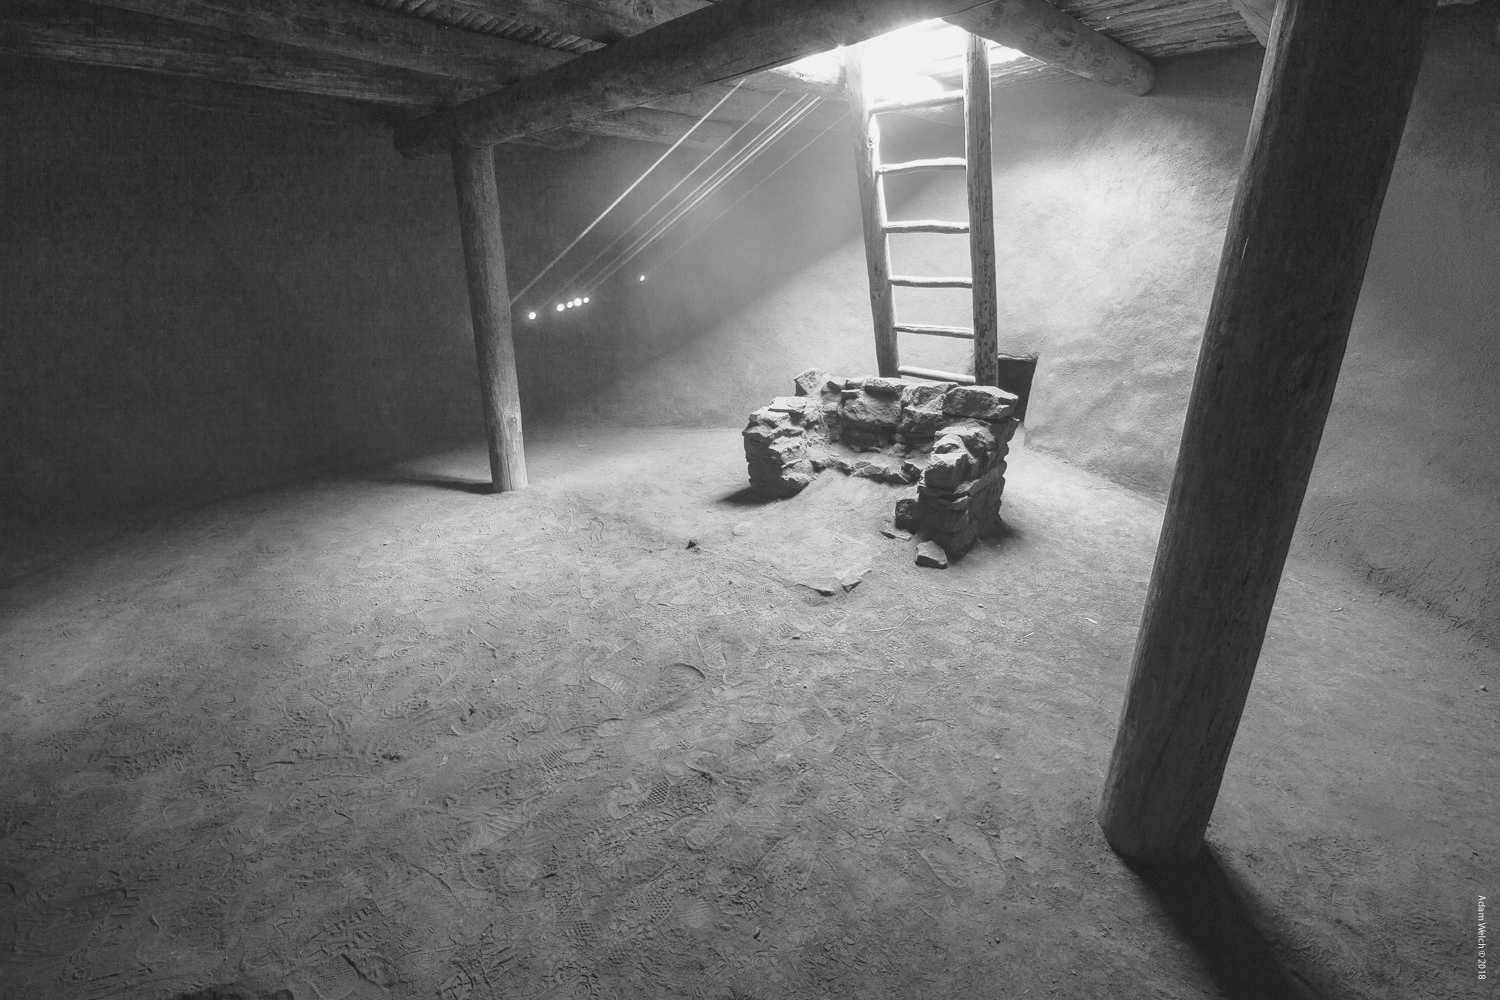
to finally this…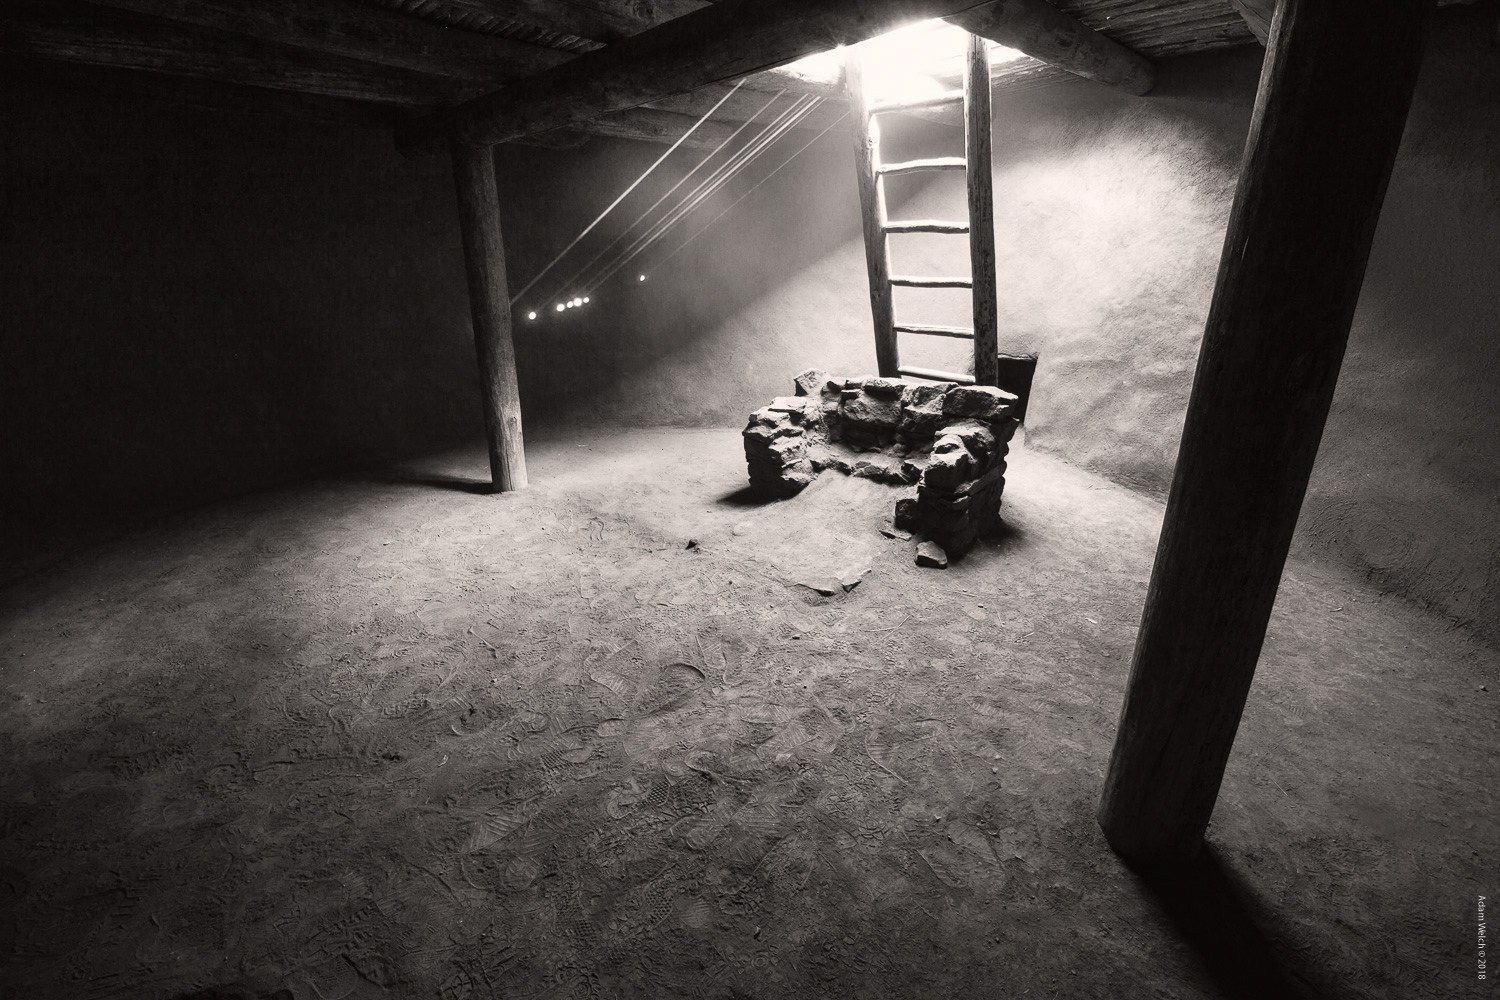
Black and white photos are more than…well, just black and white. Think of some of your favorite black and white images. Are they merely two colors or are they something more? Whether it be film or digital, most “black and white” images that move us possess color tones that create a sense of mode or aesthetic comfort that touches us on a creative and emotional level. Using the Photoshop Gradient Map to tone your black and white photos is one of the easiest and most effective ways to create advanced black and white’s that stand out. Once you begin making use of the Photoshop Gradient Map, you may wonder how you ever managed without it in the first place!

 Italiano
 Deutsch
 Español
 Português
 Français